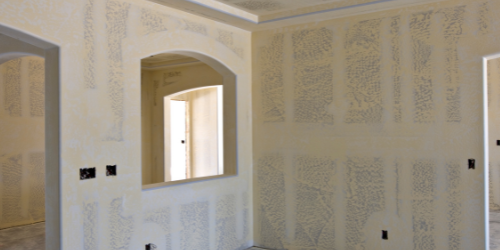
Emergency Drywall Installation Near Me For Quick Repairs
If a wall gets damaged, the fastest path back to a clean, paint-ready surface usually depends on what’s behind the drywall. This guide walks you through what to check, how drywall installation and patching should be handled, and what to expect in Allen, TX when you need quick, durable results.
You notice a crack that keeps growing, a section of drywall that’s soft to the touch, or a hole that exposes the inside of the wall. In Allen, TX, that can become a bigger problem fast, especially when humidity swings and daily living keeps putting stress on the damaged area.
Before you decide between patching or replacement, you need a clear way to assess the damage and understand what “done right” looks like. This guide helps you figure out what to check first, what drywall repair steps typically follow, and how to plan for interior painting so the finished wall looks uniform.
- Quick answer
- What to check first
- Main considerations for quick repairs
- Why this matters in Allen, TX
- Common mistakes to avoid
- Customer checklist
- Frequently asked questions
Quick Answer
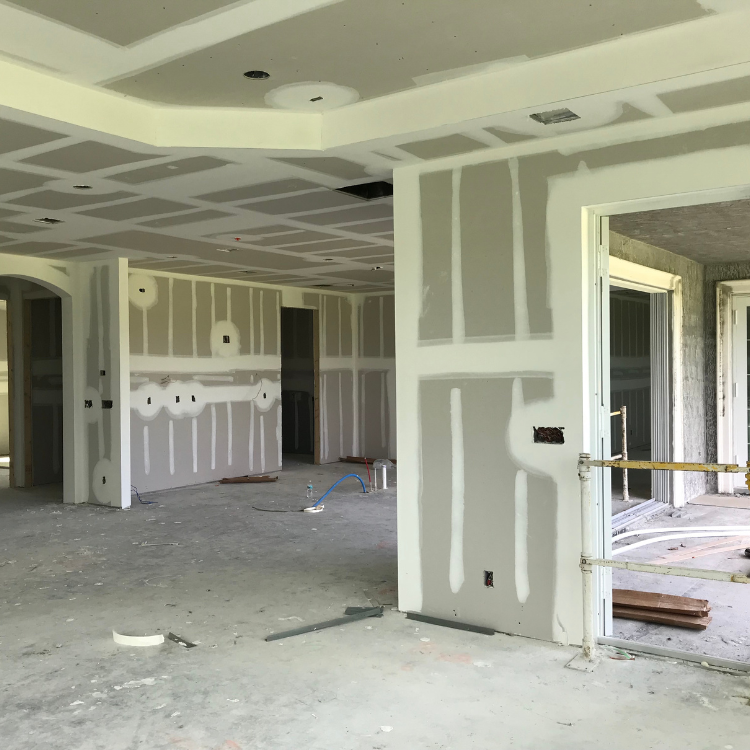
If the drywall is crumbling, sagging, or damaged beyond a shallow patch, drywall installation is usually the best route for a quick, stable repair. Start by checking for moisture, loose framing, and the size of the affected area. If the wall feels soft, smells musty, or the damage spreads, prioritize fixing the cause before closing the wall. For the cleanest finish, ask for surface preparation and matching drywall finishing steps before interior painting, so the repair blends rather than “ghosting” after paint.
What to Check First
Before repairs begin, focus on three practical checks: whether the drywall is still structurally sound, whether there’s any moisture problem, and whether the surrounding edges are stable. A small hole can turn into a larger job if the paper face is peeling or if the wall is flexing because the framing is compromised.

1) Look for moisture signs
Soft spots, bubbling paint, discoloration, or a “damp” feel are red flags. If moisture is present, closing the wall without addressing it can lead to recurring damage.
2) Check the edges
If the drywall paper or edges crumble when touched, a patch may not hold. The right approach is often cutting back to sound material.
3) Measure the real area
Cracks and holes can extend farther than they appear. A quick measurement helps estimate how much drywall installation, drywall patching, and drywall finishing will be needed.
Main considerations for quick repairs
Fast repairs still need the correct order of operations. In real homes, the most time-saving approach is usually to remove damaged drywall to a clean boundary, secure the substrate, then rebuild and finish the surface so interior painting can be applied evenly.
Professional observation: The “quick” part is mostly about getting to solid edges and stable backing. If you patch over loose or wet material, the repair can fail or show through after paint, creating more work than starting with drywall installation.
Drywall installation versus drywall patching
Drywall patching can work when the damage is small and the surrounding drywall is stable. When the hole is large, the drywall is sagging, or the surface is compromised across a broader section, drywall installation is typically more reliable. Either way, drywall repair should include drywall finishing steps that create a flat, paint-ready plane.
How drywall finishing affects the final paint look
Even when the drywall is properly replaced, the final appearance depends on the finishing process. Texture matching, feathering, sanding, priming services, and caulking and sealing all play a role in whether the repaired area blends into the rest of the wall.
| Situation you notice | What it often means | Common repair approach |
|---|---|---|
| Small hole or dent with solid edges | Drywall face may still be stable | Drywall patching and drywall finishing, then priming and interior painting |
| Crumbly drywall paper or widening crack | Damage may extend past the visible area | Cut back to sound drywall, then install backing and finish the surface |
| Soft wall section, bubbling paint, or discoloration | Possible moisture or humidity impact behind the wall | Address the underlying issue first, then repair with drywall installation and finishing |
| Large section missing or sagging | Framing and stability may be compromised | Drywall installation with secure mounting, joint finishing, and texture matching as needed |
Why this matters in Allen, TX
In Allen, TX, interior walls often face seasonal swings that can highlight weak spots. When drywall is compromised, even a “temporary” patch can become more noticeable as the wall expands and contracts. That is why the repair should focus on stable edges, proper drywall finishing, and the right surface preparation before interior painting.
Local planning tip: If the damaged wall is near a high-traffic entry, hallway, or kitchen area, expect more movement and repeated contact. Prioritizing structural stability and a paint-ready finish helps the repair last longer between future touch-ups.
Related services that can matter for emergency repairs
If your damaged wall is part of a larger interior refresh, the repair may connect directly to other surface work. For example, you may need to coordinate wall updates with surrounding finishes to keep the look consistent.
- MJ Workforce Solutions drywall services for repair and finishing guidance
- Wallpaper installation considerations if your wall has patterned coverage
- Paint removal and surface prep steps for older walls before repainting
- Exterior house painting when wall issues are connected to outdoor exposure and drainage
Get a repair plan that matches your wall damage
Tell MJ Workforce Solutions what you’re seeing. We can help you understand whether your situation calls for drywall repair, drywall installation, or drywall patching, and how the finish should be prepared for interior painting in Allen, TX.
Call MJ Workforce SolutionsCommon mistakes to avoid
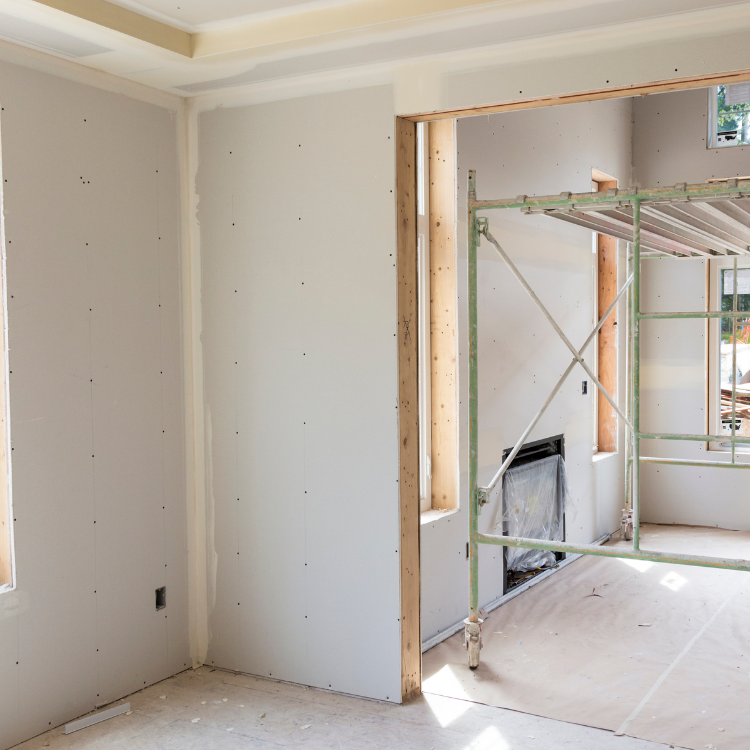
When homeowners rush, the repair often looks “better today” but fails later. The goal is a clean, durable finish, not a quick cover-up that telegraphs through paint.
- Covering damaged drywall without checking for moisture or softness first.
- Patching over loose edges that are still peeling or crumbling.
- Skipping proper surface preparation, including cleaning, sanding, and priming services before paint.
- Assuming texture matching is optional. If the rest of the wall has texture, the repair needs to blend.
- Painting before the drywall finishing steps are fully complete and dry.
- Forgetting caulking and sealing around transitions, trim, or door painting areas near the repair.
Customer Checklist
Use this checklist to stay organized while you plan repairs. It helps you ask the right questions and confirm the finished wall will match the surrounding area.
Before work starts: Walk the area and note what’s visible (hole size, crack length, any soft spots, and whether paint is bubbling or discolored). Take a quick look for nearby sources such as plumbing fixtures or exterior wall contact points.
Assess
Confirm whether the drywall can be repaired with patching or needs drywall installation for a stable rebuild.
Prepare
Plan for surface preparation, priming services, and caulking and sealing so the paint finish stays consistent.
Finish
Ask about drywall finishing steps and texture matching so the repair blends with the rest of the wall.
Representative scenario
A homeowner in Allen, TX notices a section of drywall near a hallway light fixture has cracked and started to sag slightly. When they press around the area, the surface feels uneven and the edges crumble. Instead of applying a temporary patch, they contact MJ Workforce Solutions to inspect the extent of the damage. The team removes the compromised drywall back to solid boundaries, secures the substrate, then completes drywall finishing so the repaired area is ready for interior painting. The homeowner ends up with a wall that looks consistent with the surrounding finish rather than a visible “patch spot.”
Frequently Asked Questions
How do I know if I need drywall installation instead of a patch?
If the drywall edges crumble, the wall feels soft, or the damaged area is larger than a typical dent or small hole, patching alone may not hold. A common sign is when the crack or hole keeps spreading or the surrounding material pulls away when you touch it lightly. In those cases, a more complete drywall installation approach helps create stable backing and a flatter surface for drywall finishing and interior painting.
What should I do right after I discover a hole or crack?
Start by minimizing stress on the area and checking for any moisture indicators such as soft spots, discoloration, or bubbling paint. If the wall feels damp or the problem seems connected to plumbing or an exterior-facing location, handle the cause before closing the wall. Then document the damage size and location so the repair can be planned efficiently. This helps prevent rework and supports a paint-ready finish.
Will the repaired drywall match the rest of the wall after painting?
Matching depends on drywall finishing and preparation, not just painting. The repair should be feathered to a smooth transition, primed properly, and finished with appropriate texture matching if the surrounding wall is textured. Even small differences in prep can show through after paint. When drywall finishing is completed correctly, the repaired area blends more naturally with the existing wall.
Is priming always necessary before interior painting?
In most drywall repair situations, priming services are used to help create a consistent base for paint. Drywall compound, sanding residue, and transitions between old and new material can all affect how paint bonds and how the sheen and color appear. Priming helps reduce uneven absorption and supports a smoother, more uniform finish after interior painting.
What if the damaged wall is near trim or a doorway?
Repairs near trim, door frames, or other transitions often require careful caulking and sealing so the edges look clean and stay consistent over time. The finish should also consider how the repair area meets adjacent surfaces, including trim painting or door painting areas. Preparing those junctions helps prevent visible gaps and improves the overall blend of the final paint job.
Need emergency drywall installation help in Allen, TX?
MJ Workforce Solutions can help you plan the right drywall repair approach and the finishing steps that make the repaired wall look like it belongs. Call for guidance on your specific damage.
Call (945) 253-0961
MJ Workforce Solutions
MJ Workforce Solutions provides painting-focused services and drywall repair support for homeowners and property owners in Allen, TX and the surrounding areas. When walls need patching, drywall installation, or drywall finishing, the goal is always the same: a stable repair with a paint-ready surface that blends cleanly with the rest of your interior.